
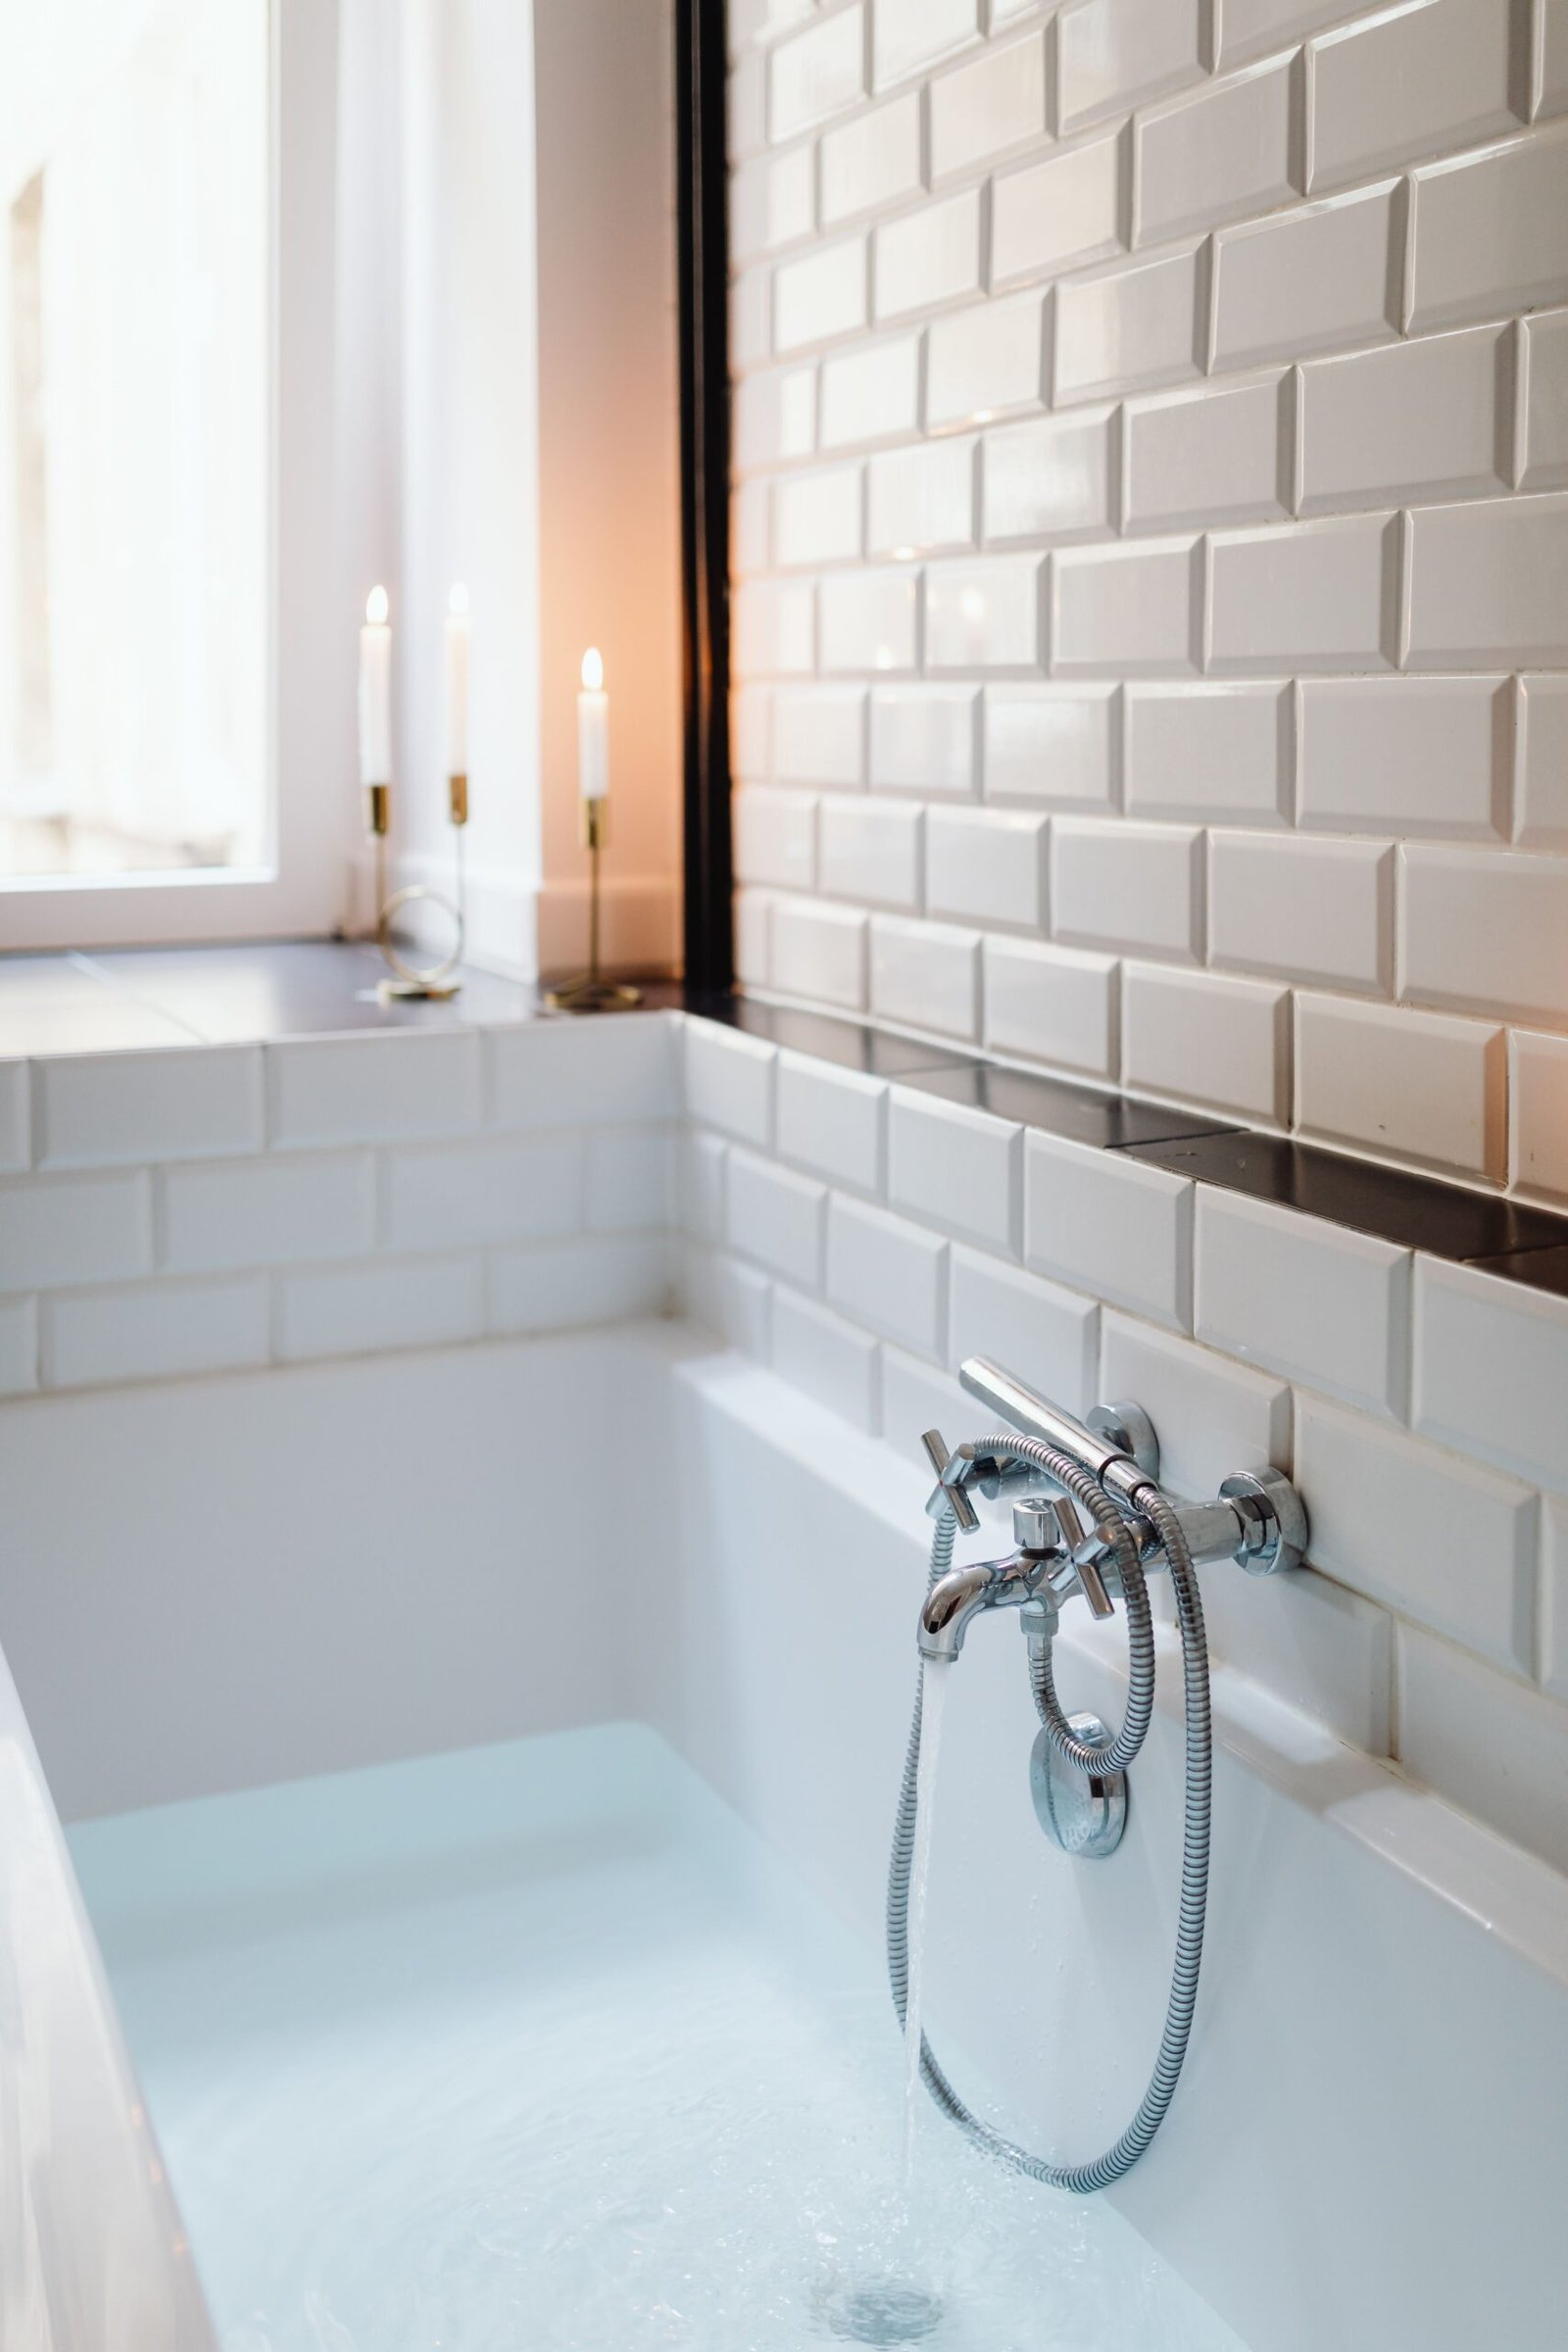
How to Recaulk a Bathtub: A Clean, Simple Job for One Afternoon
As an Amazon Associate I earn from qualifying purchases. Some links in this post go to Amazon and may earn me a small commission at no extra cost to you.
Last Updated on October 2, 2026 by Smarteryouu
⭐ How to Recaulk a Bathtub: A Clean, Simple Job for One Afternoon
Few things make a clean bathroom look tired faster than old caulk. It yellows, it cracks, it peels at the corners, and dark spots creep into it no matter how often you scrub.
Learning how to recaulk a bathtub is one of the most rewarding small jobs in any home. It costs very little, needs only a few simple tools, and the difference is obvious the moment you peel off the tape.
The job has two parts. The first is removing every trace of the old caulk and getting the joint completely clean and dry. The second is laying a neat new line and then leaving it alone long enough to cure. The first part takes most of the effort, and it is also where most results are won or lost. This guide walks through both, calmly and in order.
Some links on this page are affiliate links. If you buy through one, this site may earn a small commission at no extra cost to you.

⭐ When Does a Bathtub Need New Caulk?
Replace caulk when it is cracked, peeling away from the tub or wall, discoloured in a way cleaning does not fix, or has gaps you can see into. Those gaps let water behind the tub surround, where it can cause damage you cannot see. If you are unsure, press it gently. Good caulk is firm and fully attached.
Stains that sit deep in the caulk are the most common reason people start this job. Surface marks often clean off, but once discolouration is inside the caulk itself, no amount of scrubbing will bring it back.
Small splits at the corners are worth attention even if the rest looks fine. Corners move the most as the tub fills and empties, so that is usually where caulk fails first.
There is no fixed schedule. A well caulked tub in a bathroom with good ventilation can go years without attention. One in a steamy bathroom with no fan may need it much sooner.
⭐ Take Out Every Bit of the Old Caulk
New caulk will not bond properly to old caulk, so it all has to come out. This is the slowest part of the job and the one worth doing carefully.
Start by slicing along both edges of the old bead with a sharp blade or a caulk removal tool, holding it at a low angle so you do not scratch the tub. Then pull the old line away. It often comes off in long strips once you get an end started.
Whatever is left behind can be scraped with a plastic scraper or the blade end of a caulk tool. Take your time around the corners and the drain end. Small leftover bits are the most common reason a new line lifts early.
Silicone leaves a thin film even after the bead is gone. Wipe the joint with rubbing alcohol on a clean cloth to remove it. The surface should feel clean and squeaky rather than slightly slippery.
⭐ Clean the Joint and Let It Dry Completely
Once the old caulk is out, clean the whole joint thoroughly. A bathroom cleaner and an old toothbrush get into the gap well. Rinse, then wipe with rubbing alcohol again.
If you find dark spots inside the joint, clean them away now rather than sealing over them. Health Canada notes that moisture is one of the most common causes of mould indoors, and fixing moisture problems quickly is the main way to prevent it.
Then comes the part many people skip. Let the joint dry completely. Water trapped behind new caulk is exactly what you are trying to prevent. Leaving the bathroom fan running and the door open for several hours, or overnight, is the simplest way.
This is a good moment to think about the room as a whole. A bathroom that stays damp will be hard on any caulk. Our guide to indoor humidity levels season by season explains why a working fan matters so much in winter.
⭐ Silicone or Acrylic, Which Caulk Is Right?
Walk down the caulk aisle and the choice can feel endless. For a bathtub, the question mostly comes down to two families.
Silicone caulk stays flexible, handles constant water well and holds its shape for a long time. That makes it the usual choice around tubs, showers and sinks. Its downside is that it cannot be painted, and it is a little harder to smooth neatly the first time.
Acrylic or latex caulk is easier to work with and cleans up with water, and it can be painted. It suits dry joints such as baseboards and window trim, where movement and moisture are low. Some versions are labelled for kitchens and bathrooms, but pure silicone is still the more common pick right at the edge of a tub.
Whichever you choose, check the label says it is made for kitchen and bath use. That wording means it is designed for wet areas. Clear or white are the usual colours. Clear hides small wobbles in the line, while white matches most tubs and grout.
For a single tub, a small squeeze tube is often all you need. A caulking gun is useful for bigger jobs, but it is one more tool to learn when a squeeze tube does the same thing on a small scale. Our DIY Tools section covers the tools worth owning once projects get larger.
⭐ Why Should You Use Painter’s Tape?
Tape is the easiest way to get a straight, professional looking line. Run one strip along the tub and one along the wall, leaving a gap the width of the bead you want. The caulk goes in the gap, and when the tape comes off, the edges are crisp and even.
Without tape, most beginners end up with a wavy line and smears on the tile, which are hard to clean once silicone starts to set.
Keep the gap modest. A narrow, even bead looks neater and is easier to smooth than a wide one. Press the edges of the tape down firmly so the caulk cannot creep underneath.
One helpful habit is to fill the tub with water before you caulk. The weight lowers the tub slightly, much as it will when someone is bathing. Caulk applied in that position is less likely to stretch and crack later. Drain it only after the caulk has cured.
⭐ How Do You Apply Caulk Neatly?
Cut the nozzle at a slight angle, starting with a small opening. Squeeze with steady pressure while moving along the joint at an even pace, aiming for one continuous line. Then smooth it straight away with a caulk tool or a damp fingertip, and pull the tape off while the caulk is still wet.
Work in manageable sections if the tub is long. It is better to do one wall at a time and smooth it immediately than to run a full line and find the first part has started to skin over.
When smoothing, use one gentle pass rather than several. Each extra pass pulls a little more caulk away and can leave the line uneven. Keep a paper towel handy to wipe the tool between passes.
Peel the tape slowly, pulling it away from the fresh line at a low angle. If you wait until the caulk has set, the tape can tear the edge and undo your neat work.
⭐ Give It Time Before the First Shower
The last step is simply patience. Silicone needs time to cure fully before it meets water, and the tube will say how long. For most bathroom caulk, waiting a full day before using the shower is a sensible habit, even if the surface feels dry sooner.
Keep the fan running and avoid touching the new line while it cures. A curious finger can leave a permanent mark.
Once it is cured, drain the tub if you filled it, and admire the result. From here, a quick wipe of the caulk line during your regular cleaning keeps it bright for much longer.
This kind of small repair builds real confidence. Our list of weekend home improvement projects you can actually do yourself has more ideas at a similar level, and our guide to DIY mistakes new homeowners should avoid is worth a read before bigger jobs. The rest of our bathroom and home repair guides live in the Home Improvement section.
⭐ Best Sellers
Top Products and Picks
Everything needed to recaulk one bathtub neatly, and nothing you will not use.
For perfectly straight lines
ScotchBlue Original Painter’s Tape
For marking a clean edge on both sides of the joint before you apply any caulk. It peels away without lifting paint or leaving residue. The single roll is plenty for a bathtub.
Check price on AmazonFor removing and smoothing
Allway CT31 Three in One Caulk Tool
For scraping out old caulk and then shaping the new bead. One end has a blade for the old line, the other has rounded edges for smoothing. Cheaper than buying a separate scraper and smoother.
Check price on AmazonThe caulk itself
GE Silicone 2 Kitchen and Bath, Clear Squeeze Tube
For a single tub or sink without a caulking gun. It squeezes straight from the tube and is made for wet areas. Clear hides small wobbles. Follow the label for cure time before the first shower.
Check price on Amazon⭐ Final Thoughts
Replacing old caulk is a small job with an outsized reward. The bathroom looks cleaner, the tub looks newer, and the joint that keeps water where it belongs is sealed properly again.
The secret is in the preparation. Remove every bit of the old line, clean the joint well, and let it dry completely before anything new goes on. The fresh bead itself takes only a few minutes.
Then comes the easiest step of all, which is simply waiting. Give it a full day before the first shower, and it will look good for a long time to come. Once you have done it once, you will likely notice every tired caulk line in the house, and each one will feel like a quick, easy win.
⭐ Additional Resources
Health Canada: Mould explains how moisture leads to mould indoors and offers practical guidance on controlling humidity and cleaning small areas.